Here is the tutorial for rooting and unrooting Xiaomi Mi3 / Mi3W running the latest update of Android KitKat 4.4.4 , MIUI Version - KXDMIBH32.0
Disclaimer : I am not responsible if you brick your phone or if u make any other damage to your phone To Update to the latest MIUI Version : KXDMIBH32.0 ( Android 4.4.4 ) CLICK HERE Rooting :
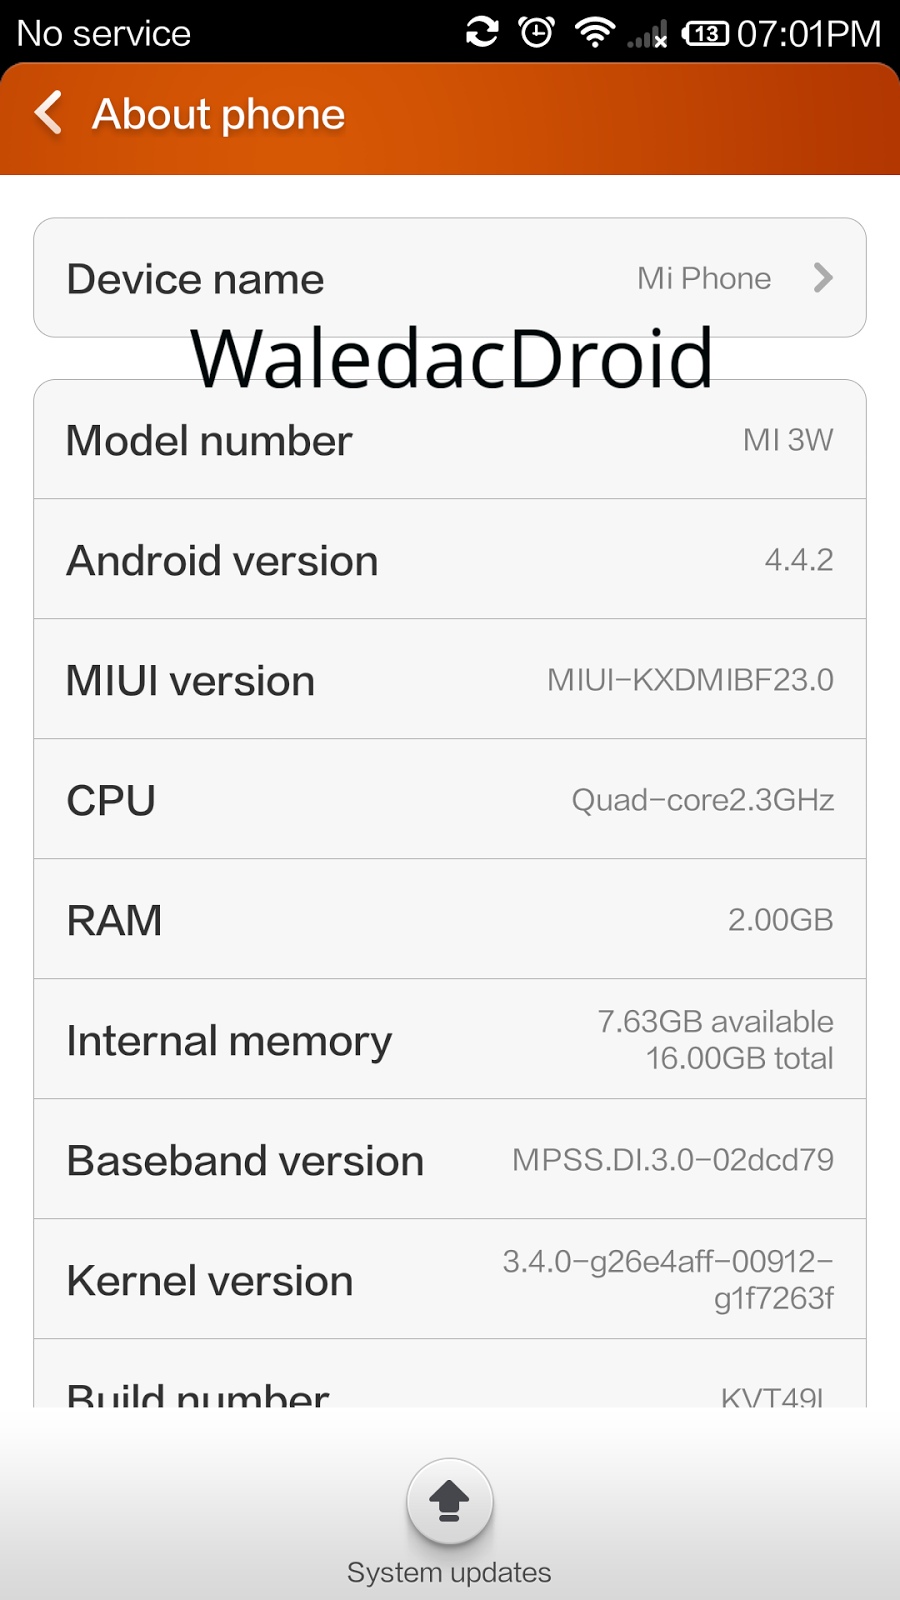
1. First make sure you are running the same build i.e Android 4.4.4 , MIUI Version : MIUI-KXDMIBH32.0 . Goto Settings > About to verify this.
2. Download this File -
Root v32 and copy it to the root of your Internal Storage.
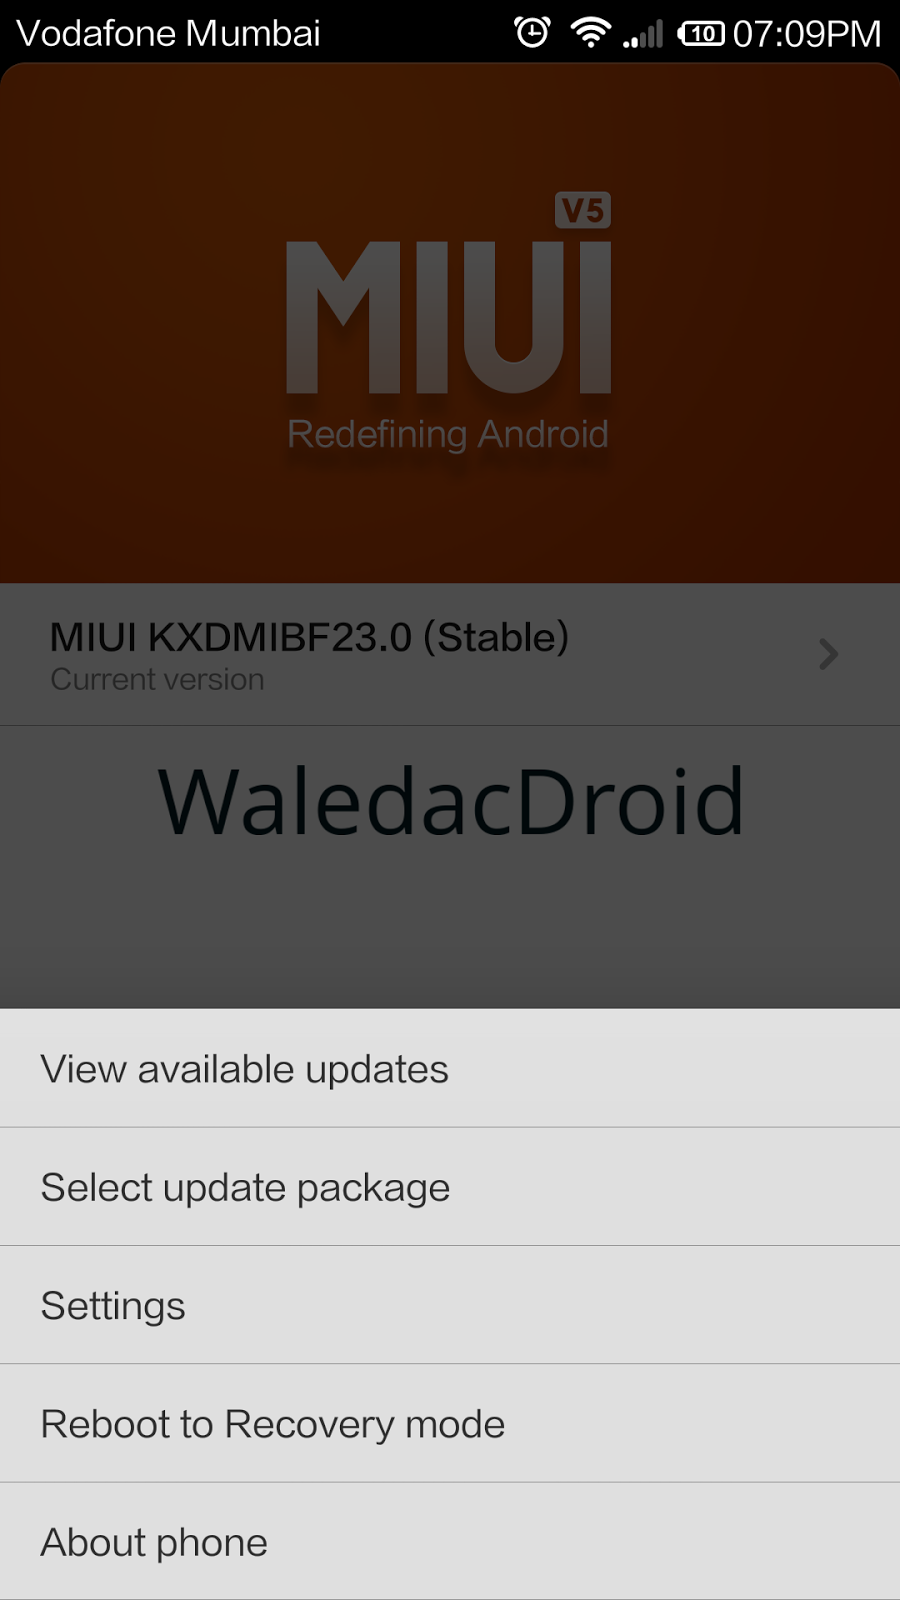
3. Now in your mobile go to Tools and Open Updater , Press the Menu Button (left corner button) and now click on Select Select Update Package and select the root v32.zip which u saved in the Internal Storage.
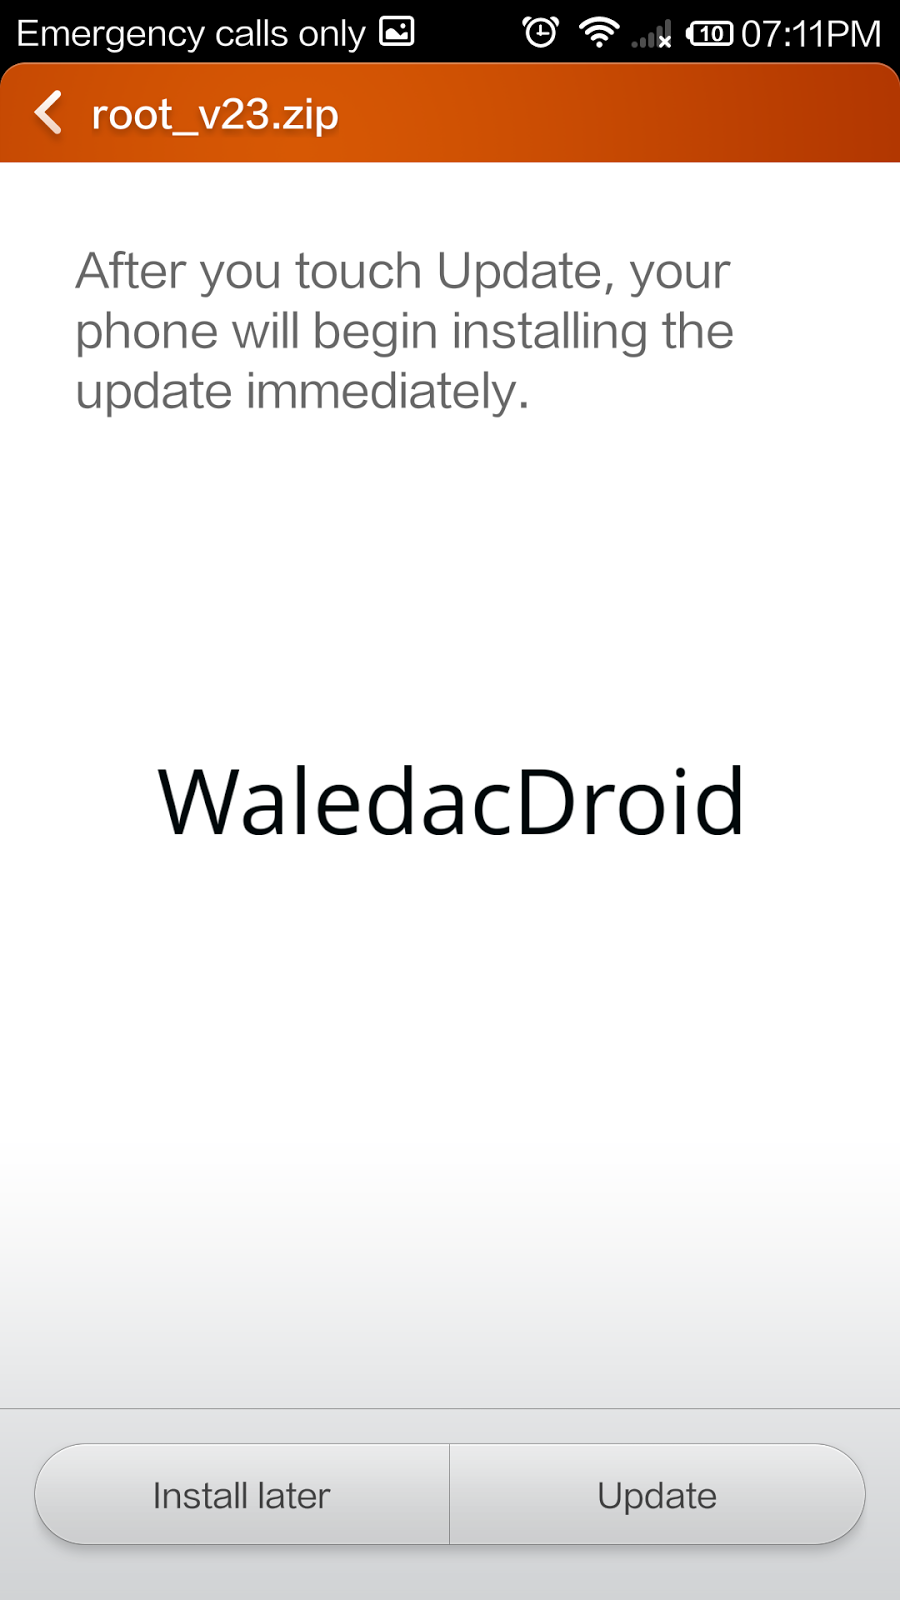
4. Now Click on Update , wait for few minutes , when the update is completed , you will be prompted to reboot , click on Reboot to finish.
5. Open Security App , Select Permissions and Turn On the Root permission
THATS IT YOUR PHONE IS NOW ROOTED.UnRooting :1. Open the Security App , Select Permissions and Turn OFF the Root Permission
2. Download this File -
UnRoot v32 and copy it to the root of your Internal Storage.
3. Now in your mobile go to Tools and Open Updater , Press the Menu Button (left corner button) and now click on Select Select Update Package and select the unroot v32.zip which u saved in the Internal Storage.
4. Now Click on Update , wait for few minutes , when the update is completed , you will be prompted to reboot , click on Reboot to finish.
YOUR PHONE IS NOW UNROOTED.
If You Have Any Problems Feel Free To Comment :)


.png)
.png)


")
")
")
")


